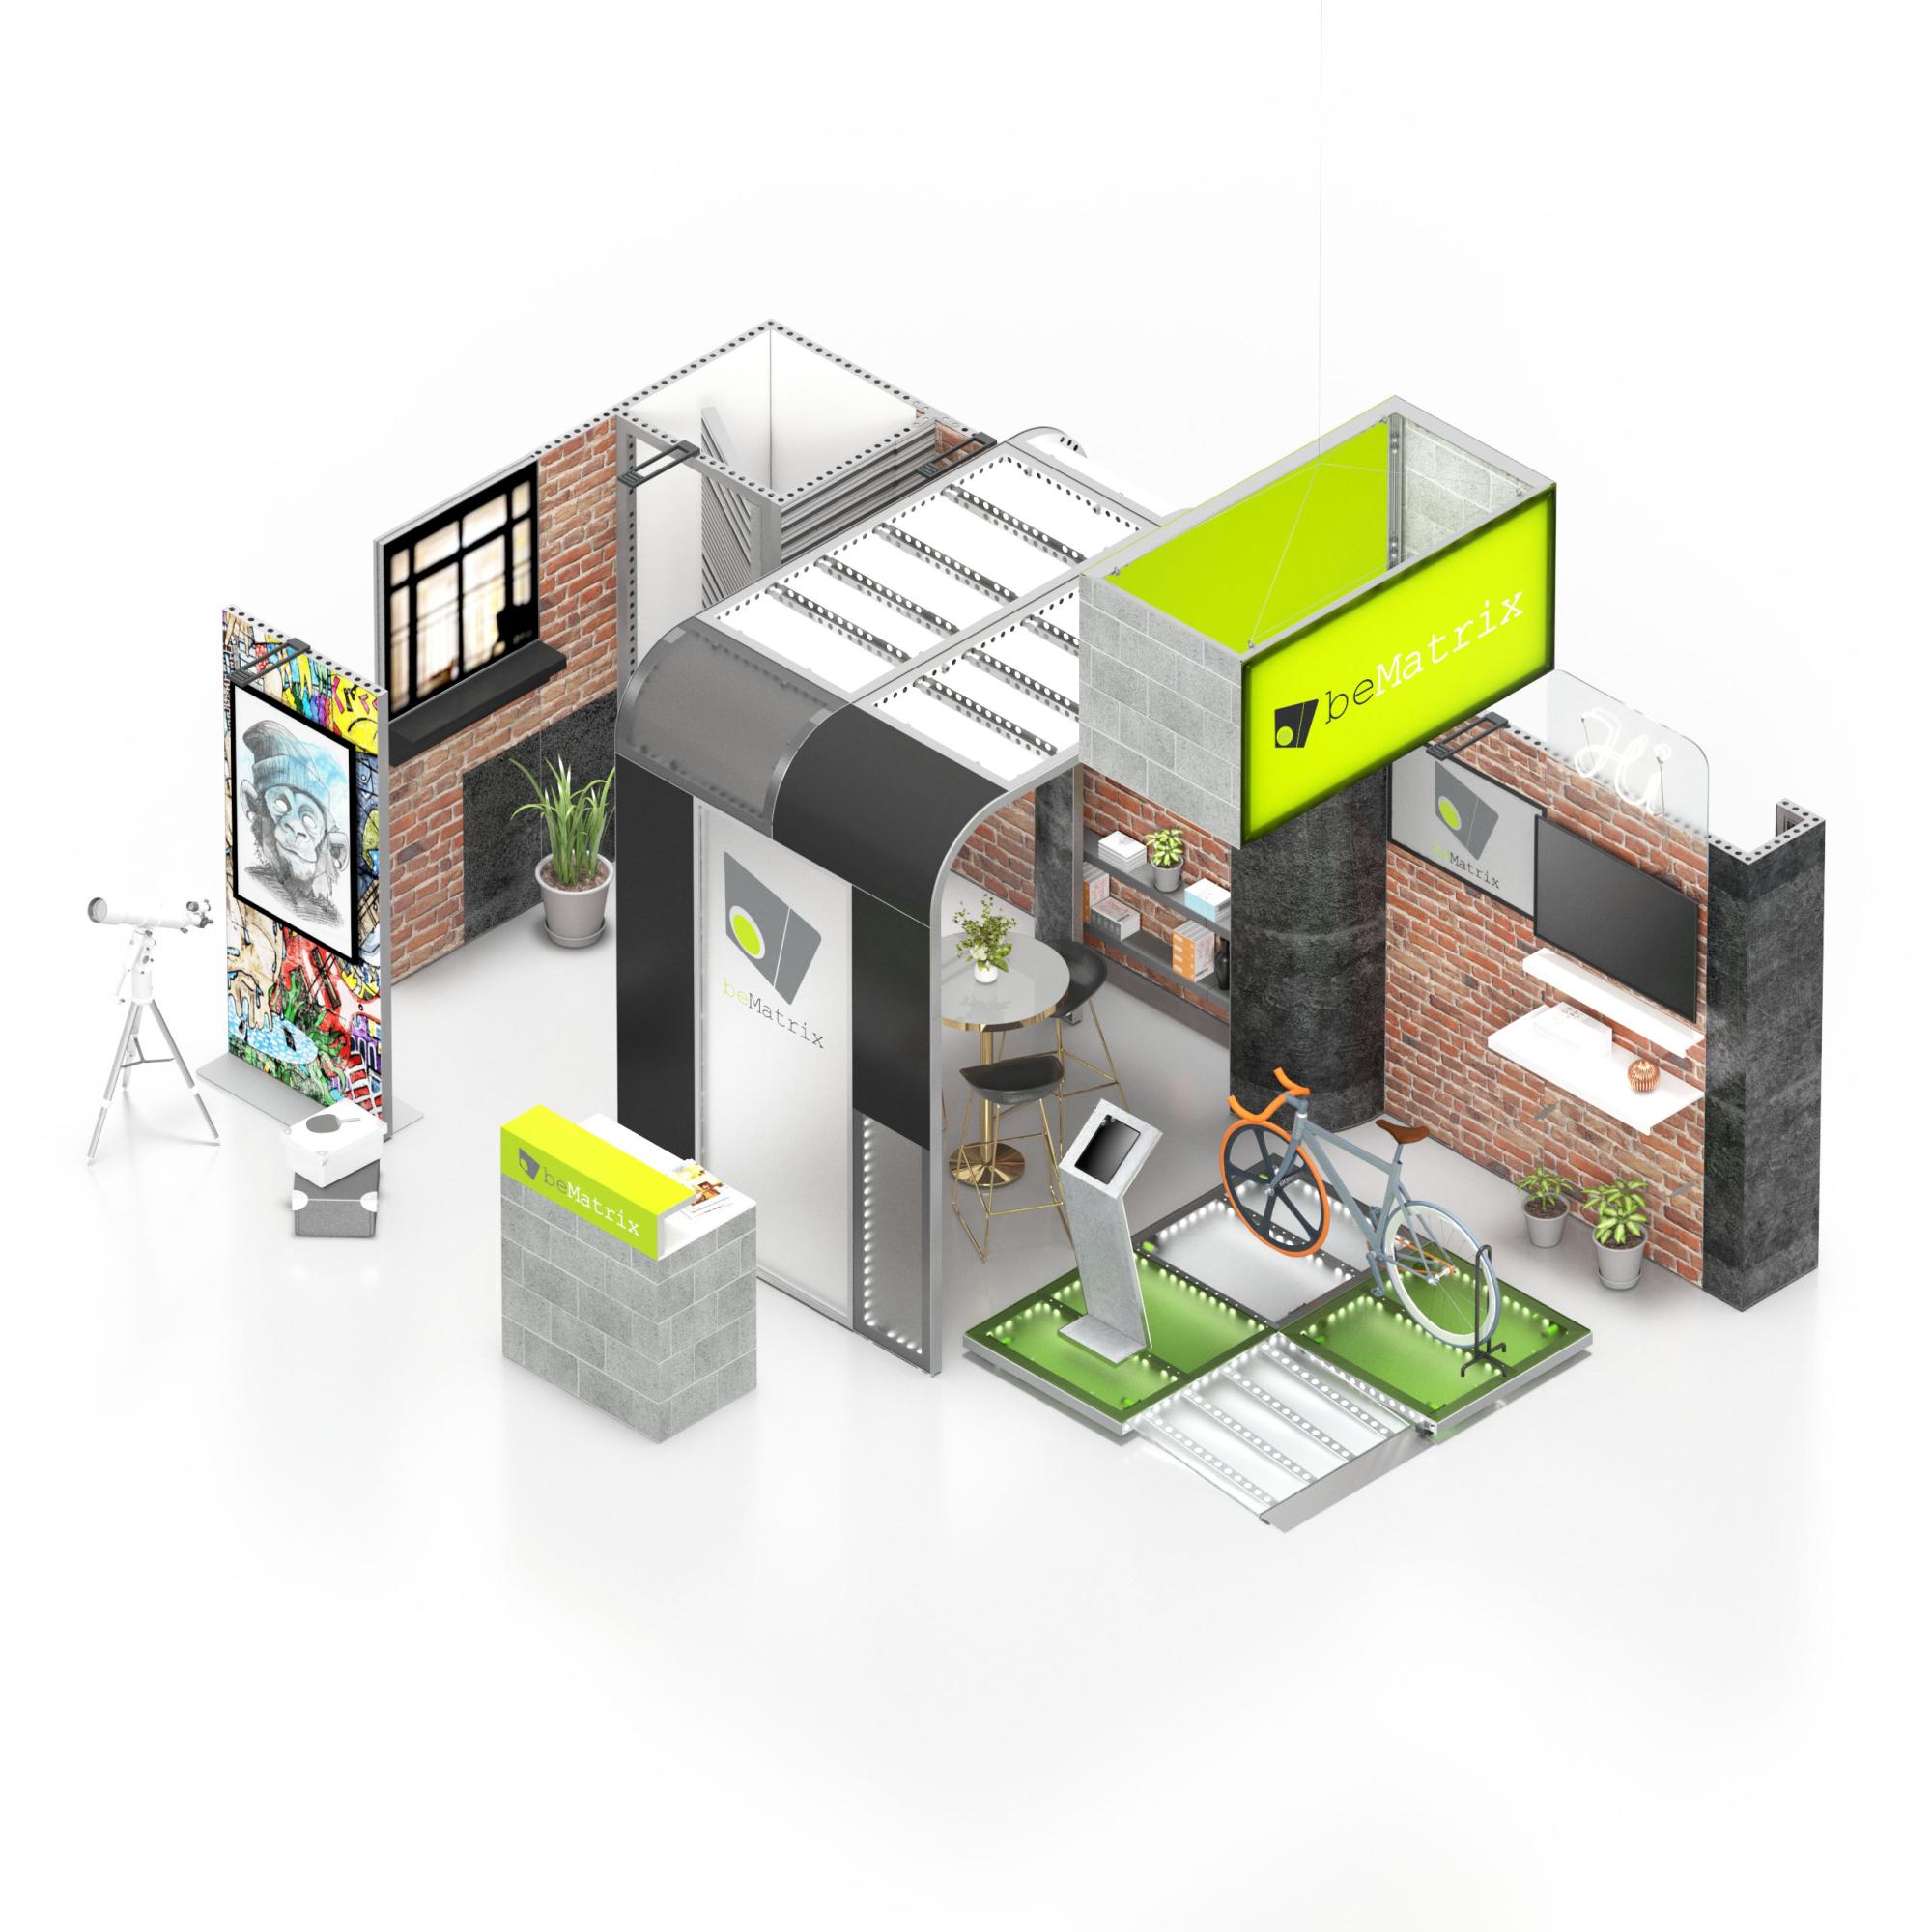
Get to know the beMatrix products in 14 steps
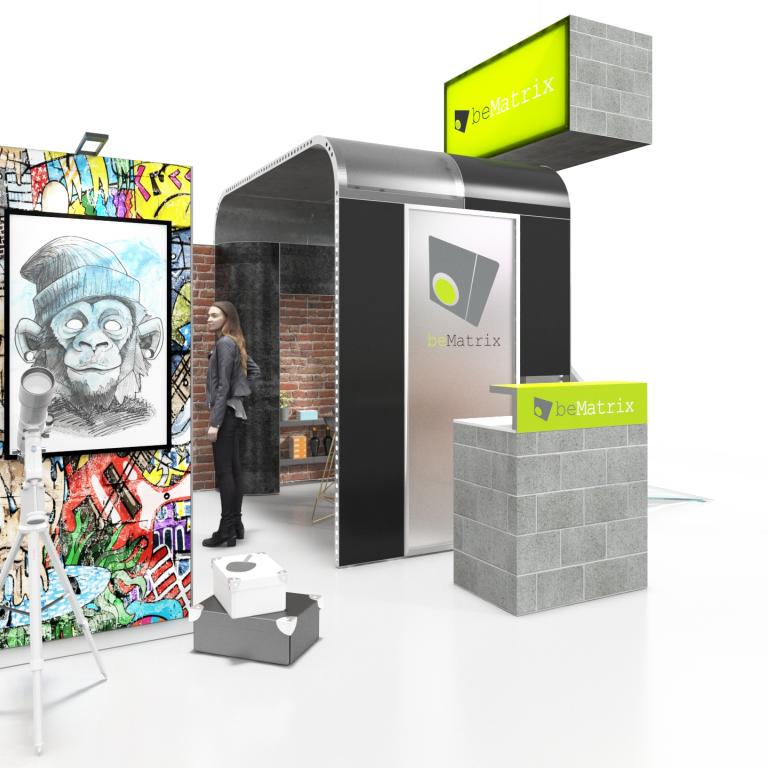
Since its inception, beMatrix Academy has been one of the best sources of continuing education for beMatrix products. Our Academy is the ultimate opportunity for customers to visit the beMatrix showroom, learn about current and upcoming products, and receive hands-on training together with other beManiacs. By building a design yourself, you really get to know the system and experience how easy it is.
Haven't attended one of our Academies yet or need a refresher? In this blog post, we will guide you, step-by-step through beMatrix HQ’s latest Academy build!
Open the 'body' of the stand in beCAD
Table of contents
In this blog post, you will learn the following steps.
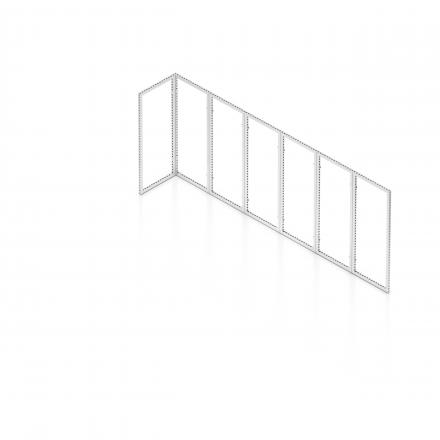
STEP 1 - first wall
STEP 2 - door
STEP 3 - arches
STEP 4 - finish structure
STEP 5 - hiding the holes
STEP 6 - lightboxes
STEP 7 - corners
STEP 8 - base plates
STEP 9 - shelf supports (for shelves)
STEP 10 - flat screen support
STEP 11 - boxscreen (not available in US)
STEP 12 - furniture
STEP 13 - lighting
STEP 14 - infills
We’ll start by showing you how to connect straight b62 frames together. Under each frame, place a 180° ECO pin to provide a point of contact and stability to your wall. These pins are made of ZAMAC (zinc, aluminum, magnesium, and copper) and therefore more environmentally friendly than chrome pins. Attach the pins to the frame using our M8 connector. Then you can easily connect the frames together in no time with our Fast Clamp connector.
Voilà, you have just created a straight-back wall! We’ll also place two additional frames at a 90° angle against the wall you just created. Tip: by adding a wall with a 90° angle, your build is immediately stable.
Thanks to the nature of our products being built on a 62mm-by-62mm matrix, there aren’t any gaps between our frames. This sets our system apart from others on the market. It fits like a glove! Our 62mm matrix ensures that all your builds will be stable and secure.
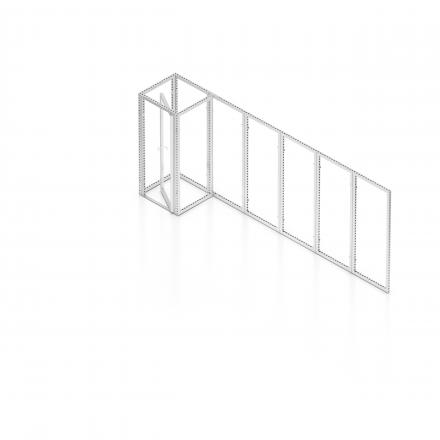
STEP 2 - door
Even the smallest of builds can benefit from having a storage area. You’ll always need somewhere to store valuable items, stash away personal belongings, and a place to keep extra food and drinks. In step 2, you’ll add a single pivoting door to the back wall. The door has a width of 992 mm and a clear passage of 741 mm. Did you know that with every type of pivot door comes with 4 different possible orientation styles? Inside left & right, and outside left & right.
Learn more about doors The doors in 62 seconds
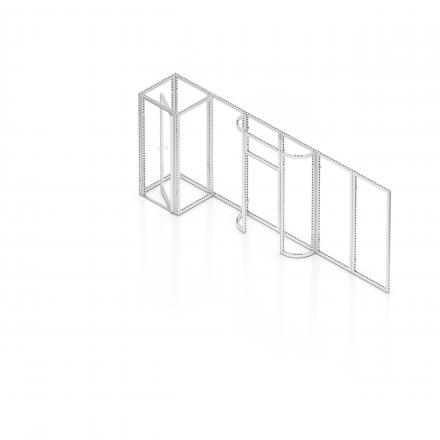
STEP 3 - arches
With an arch, you can add extra flair to your design. Our range of curved frames opens your builds to new and creative design possibilities. Straight and curved frames fit together seamlessly. No matter how unique your ideas are, our range of curved b62 frames with 7 different radii will help bring your design dreams come to life.
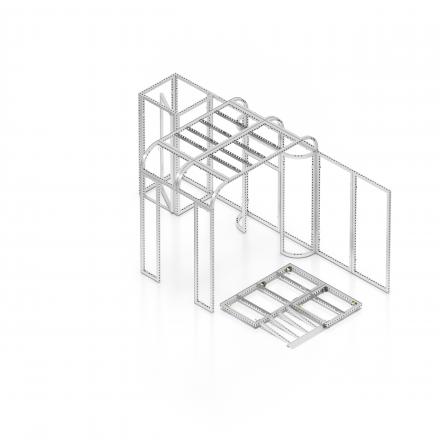
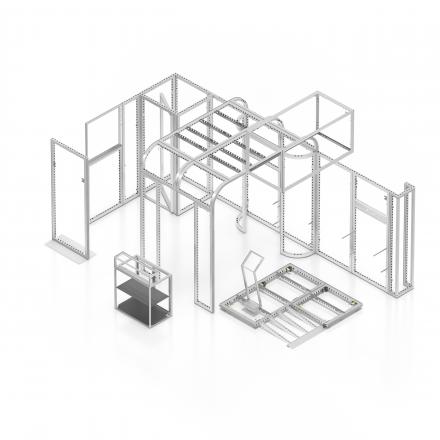
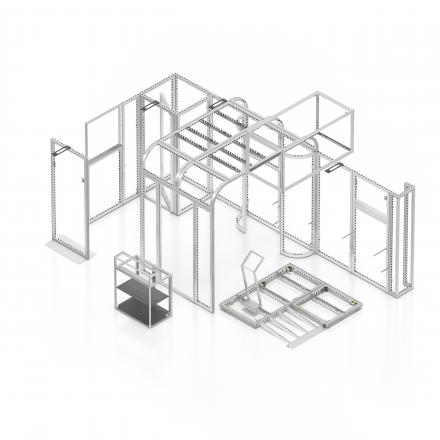
STEP 4 - finish structure
Our system allows you to build ceilings, floors, and walls all by using the same frames. In step 4, you’ll add a ceiling and a small section of the floor. As you can see, the booth is already starting to take shape.
Use a ramp and connect it to your floor so that your design is accessible to everyone. Finish the flooring with a reinforcement bracket.
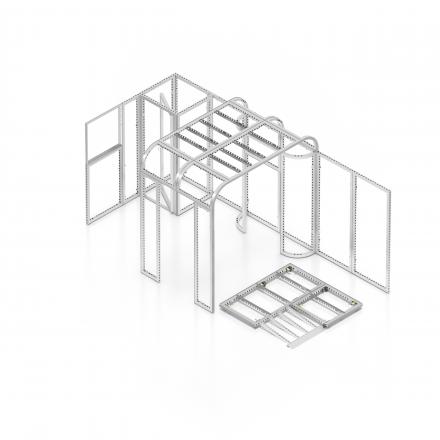
STEP 5 - hide hole pattern
Oftentimes our clients want to hide the frame’s holes. To accomplish this, we recommend b62 hole covers in combination with steel hole covers (for the arches) to make the hole pattern invisible.
To attach b62 hole covers, you must first attach a Coverclip to the holes. Then the hole covers will click onto the Coverclip making the holes invisible. The rubber on the Coverclip prevents the hole cover from shifting.
Steel covers are a must for 360° constructions. They finish off your build and ensure the sturdiness of the design. You mount them using M8 pins.
STEP 6 - lightboxes
The next step is all about lightboxes. These are, in our opinion, indispensable - even in smaller builds. They make your design more exciting and, thanks to LEDs, make a powerful and lasting impact.
In the beMatrix product range, you will find both single-sided and double-sided lightboxes. Here, we use the 62s sideLED lightbox. With its 62mm width, it fits seamlessly within the b62 frame system making it the perfect tool in your arsenal!
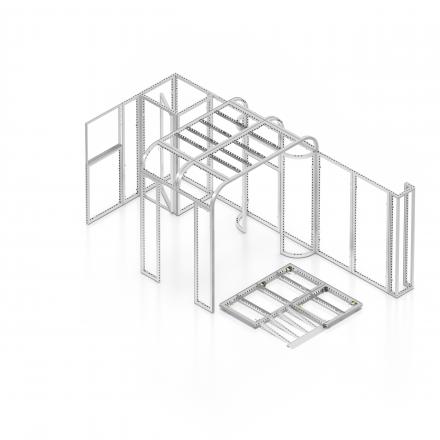
STEP 7 - corners
With the frame system, not only can you build straight or curved structures, but you can also create 90° corners (or any other angle with an adjustable Perfect Corner).
In our Academy build, it’s here that we add a Perfect U with two 90° angles. The Perfect U is a ready-welded frame that, in combination with b62 frames, opens a lot of doors for you. The Perfect Corner consists of a lock connector and a support profile. This makes it possible to add three separate straight panels. Consequently, you don't need to make a V-groove in your panels or fabric, reducing the risk of damage to your fabric.
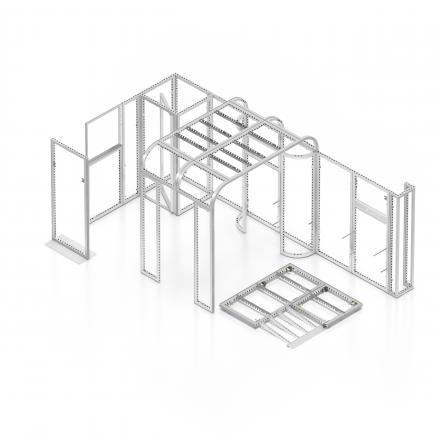
STEP 8 - base plates
In step 8, we add a stand-alone frame, ideal if you want to highlight extra products or provide additional messaging. Of course, it has to be stable, but we have products for that too!
Heavy, steel base plates are used to give a structure extra stability or, as seen here, a support base for free-standing frames. Base plates are available in various shapes and sizes. Did you know that the corners of base plates are always rounded off to prevent visitors from hurting themselves?
In the booth here, the base plate is visible on two sides of the frame. But we also have semi base plates in our range; these are only visible on one side of the frame.
Watch the video about base plates
What you need:
Base plate (incl. necessary connectors)
STEP 9 - shelf supports (for shelves)
With beMatrix's shelf supports, you can integrate shelves into your build (or storage). In this design, we use the shelf supports to hold wooden shelves. It’s a neat way of displaying products.
Tip: the shelf supports can also be used to support the top of your reception desk, for example.
STEP 10 - flat screen holder
TVs are a must in any modern design. Therefore, we’ll show you how to integrate it into your build when using beMatrix.
With the galvanized steel flat screen holder, you can integrate screens in two different ways: built-in (flush with the frame system) or out in front of the panel.
Want to integrate a TV without using a bracket? Then we recommend the beTV. The beTV is a 75" TV mounted in an aluminum frame measuring 992x1984mm. beTV can be easily mounted without a bracket and integrates easily with your existing beMatrix inventory.
In this design, we mounted the flat screen holder on to the frames.
STEP 11 - Boxscreen (not available in US)
You want your stand to stand out from afar too. A classic from the range is the Boxscreen which does this for you. Boxscreens are sturdy hanging constructions. Both the Boxscreens themselves and the textile fabrics are easy to assemble. You can count on a seamless finish! The Boxscreens are available in various sizes.
In terms of assembly, the Boxscreen is also set up in 1-2-3. The corner pieces are already assembled. Just add the straight pieces and step 11 is done!
Not available in the US.
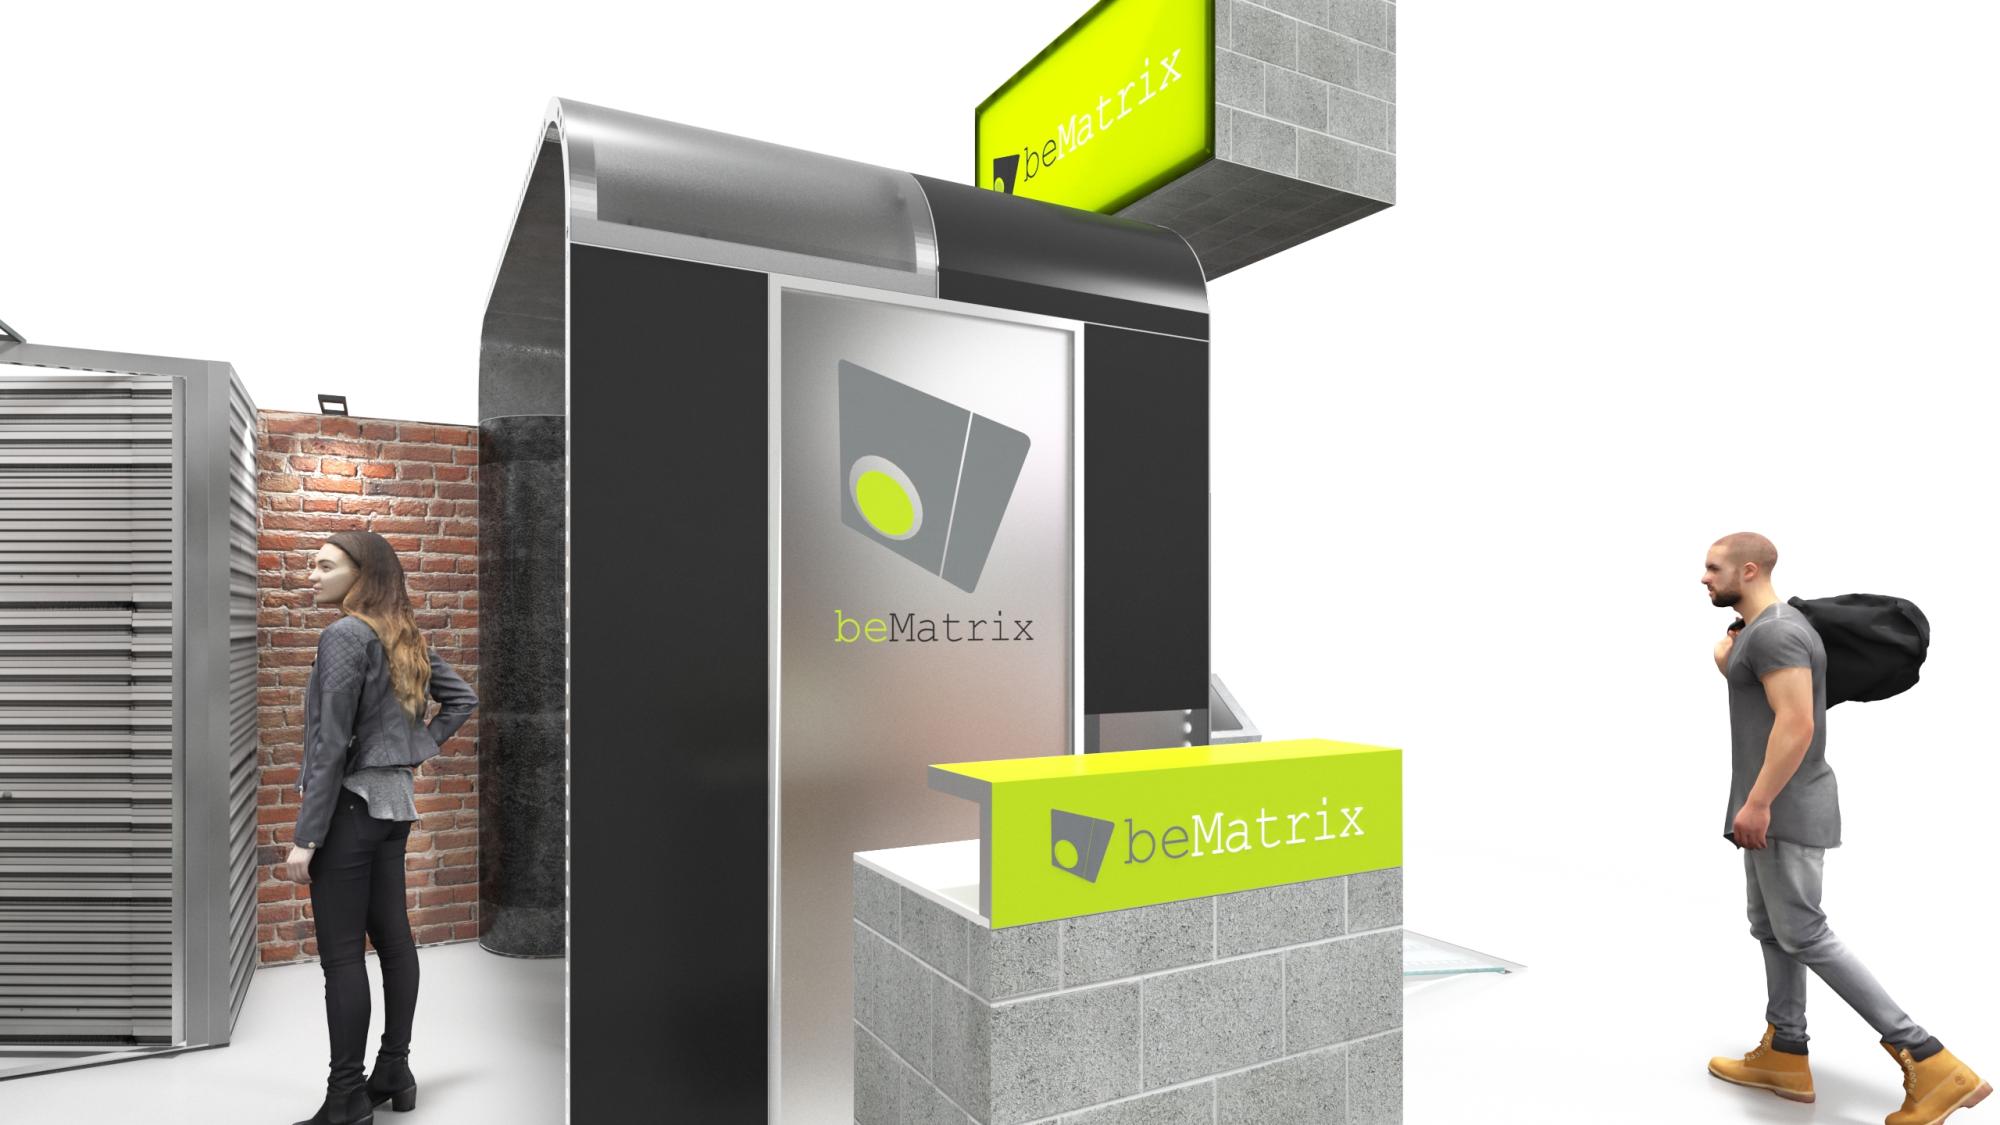
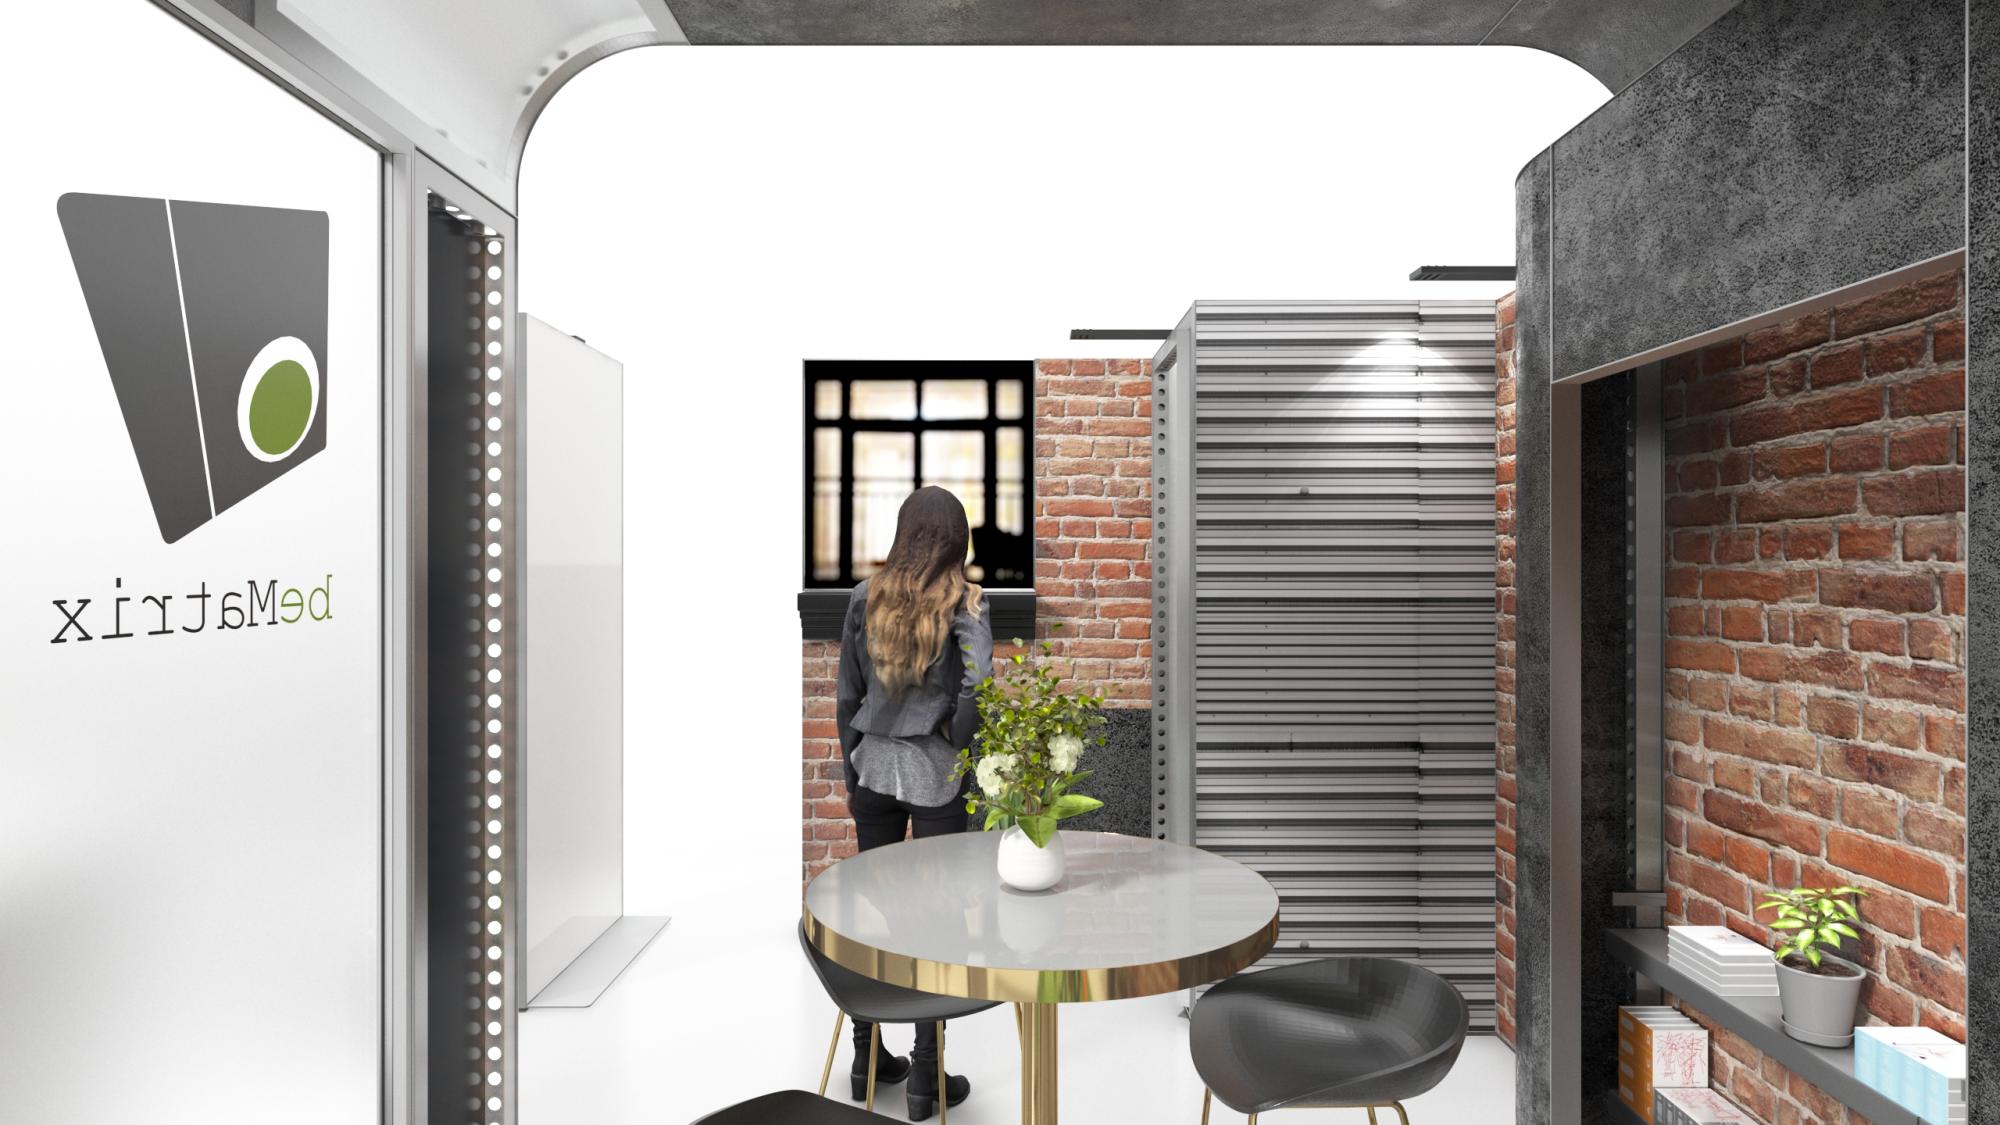
STEP 12 - furniture
The booth is almost ready, so let’s add the finishing touches. Aside from offering a versatile frame system with near limitless possibilities, we also offer our iZi-range: modular furniture such as bars and tables for your design.
In this build, we use one iZi-bar. This versatile counter is not only used as a reception desk, but also as a bar or cabinet. The iZi bar includes two shelves, lockable doors, and adjustable feet. Naturally, it is fully customizable with panels or textiles. We have added the iZi-bar elevation for a high-end look.
The standard dimensions of this furniture are 992 X 620 X 992 mm. Available in all RAL colors (standard in RAL 9006 TEC).
Learn more about the iZi-range
STEP 13 - lighting
Time to put the booth in the spotlight! We have a wide range of lighting, so there’s something for everyone: accent, mood, general lighting, and more. In this design, we opt for the SAM Light.
This pivoting LED lamp stands out for its sleek and stylish design, its various surface-mounting options, and its use of power-efficient LED technology. Up to 6 SAM Lights can be connected to one power supply (160 W). The integrated LED lamps can be adjusted 340°, allowing you to illuminate any surface from nearly any angle! Change the atmosphere on your exhibit by switching between cold and warm light.
Learn more about lighting Watch the video about SAM Light
STEP 14 - infills
You’ve probably heard us say, “Keep the body, change the skin". Because our frames are endlessly reusable, the infills can change every time. This reduces overall waste and helps your designs be more sustainable.
Panels
Panels made of PVC, , wood, (acrylic) glass can all be mounted to beMatrix frames. Anything goes! Panels can easily be attached to frames with Velcro, with the hook side being placed on the frame and the loop side on the panel. Our hook and loop tape is made so that your panel will always stay securely in the frame!
Textile
You can also use textiles as infill. The silicone edge of textile fabrics is stretched over one or more frames.
Use the tools T-REX and Platypus to get the job done for you.
The T-REX is a cutting tool designed to cut out parts of the silicone strip so you can better fit textiles over multiple frames. Safer and more precise than a knife, this product cuts through silicone like butter.
The Platypus has a beak and tail - just like a real platypus! The beak is designed to help you remove panels from frames with ease while minimizing the risk of damage to infills. The tail can help you insert very tight textiles into SEG slots.
Watch the video about Platypus
For quality printing on panels or textiles, turn to our Print bePartners.
Find a Print bePartner near you
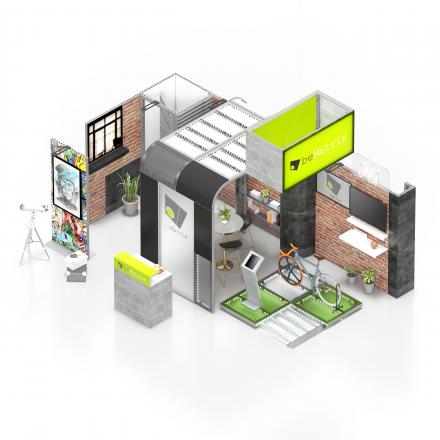
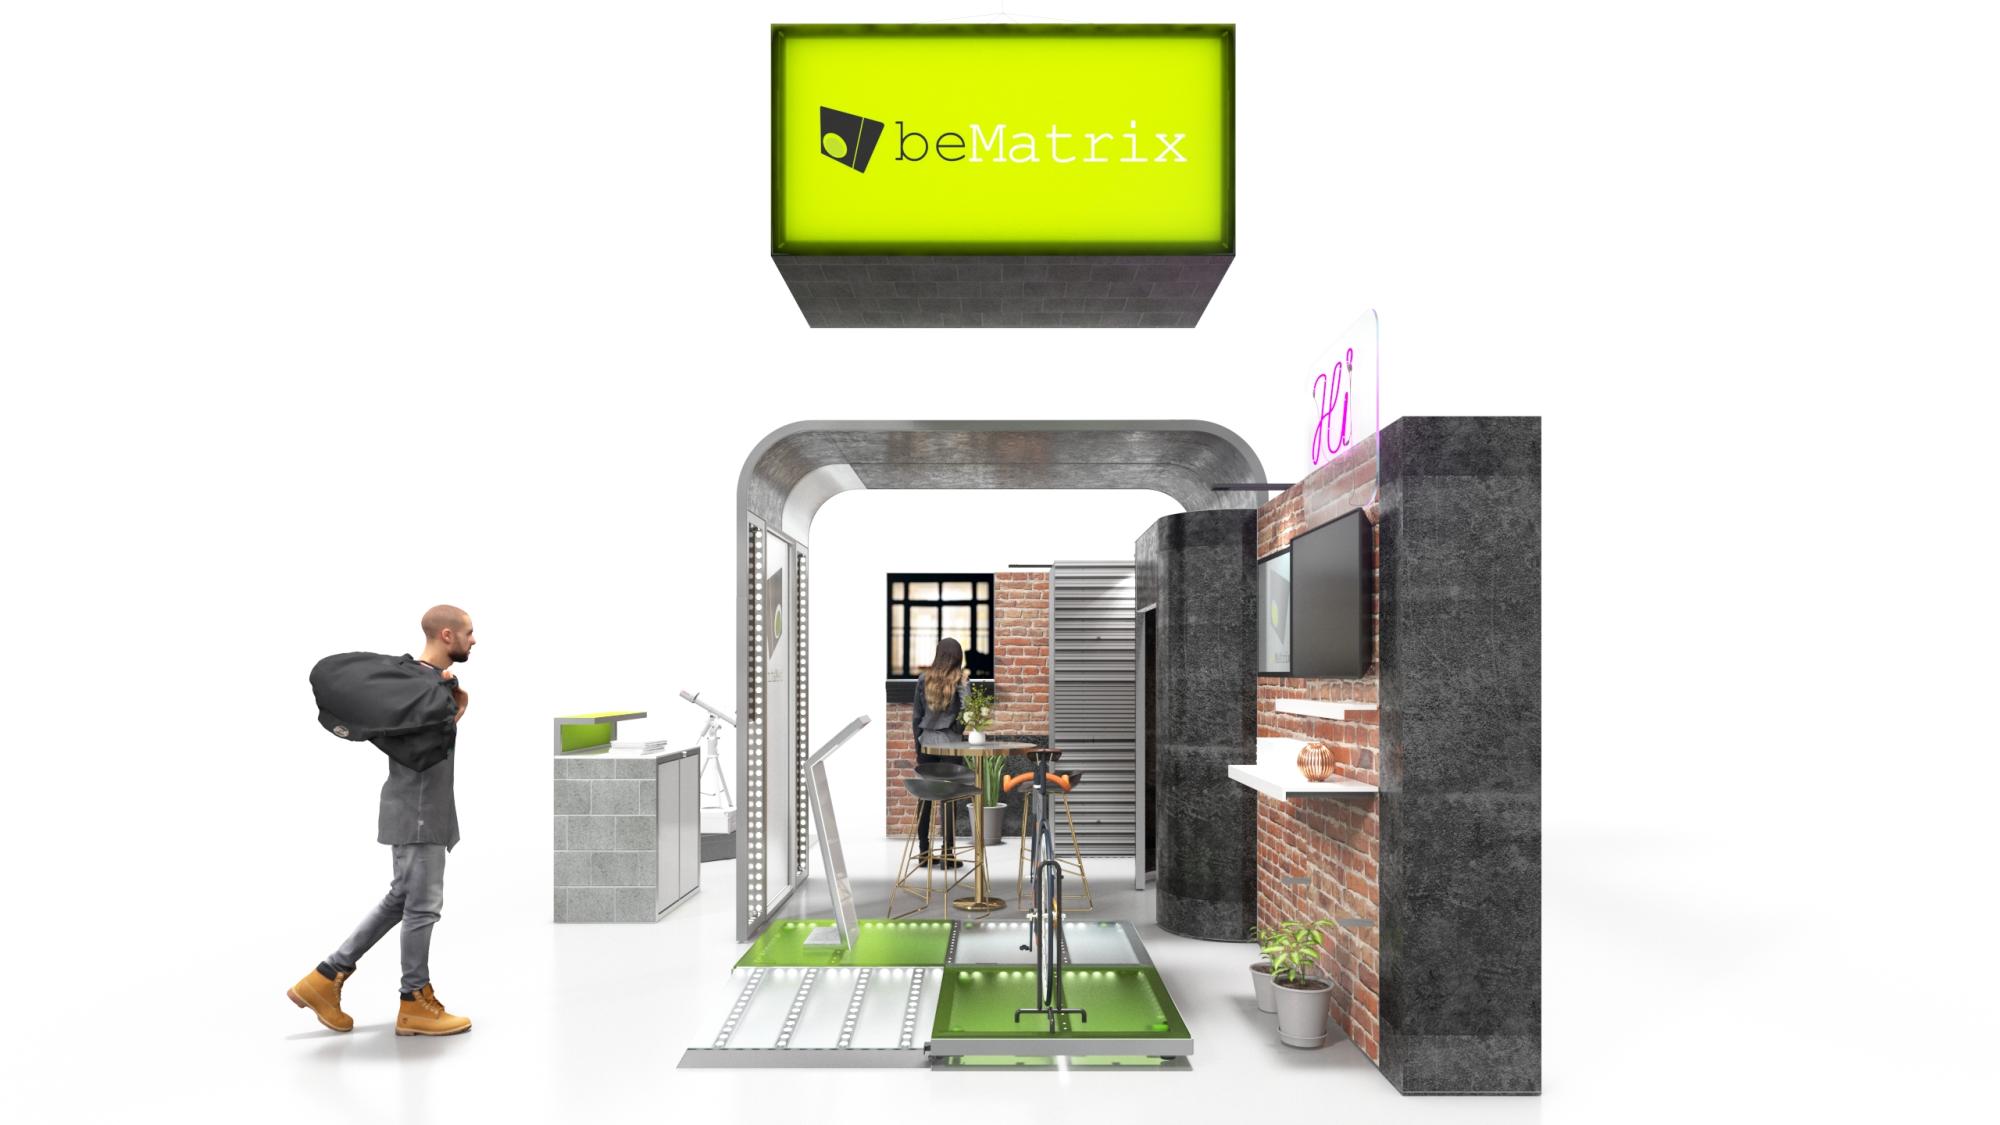
Now your booth is ready!
Rome wasn't built in a day, but your booth can be! 😉 As a matter of fact, you should have been able to build this entire booth, without tools, in just an hour.
Open the 'body' of the stand in beCAD
Want to draw something yourself, but don't have a beCAD account yet? Request a beCAD account and get started right away.
Kick-off
Want to get started yourself? Simply start with our Kick-off pack. All kick-off packs let can build tons of different set-ups. Your Kickoff pack comes with b62 frames, all the necessary connectors, and all kinds of accessories to complete the design. Each package also includes a technical drawing and a panel plan (in .PDF and .DXF).
The System brochure
You can read all the steps in this blog post in detail in our general System brochure.