Spis treści
W tym wpisie na blogu poznają Państwo następujące kroki.
KROK 1 - pierwsza ściana
KROK 2 - drzwi
KROK 3 - łuki
KROK 4 - wykończenie struktury
KROK 5 - ukryć wzór otworów
KROK 6 - skrzynki świetlne
KROK 7 - narożniki
KROK 8 - płyty podstawy
KROK 9 - wsporniki ławki (dla półek)
KROK 10 - wspornik płaskiego ekranu
KROK 11 - ekran skrzynkowy
KROK 12 - meble
KROK 13 - oświetlenie
KROK 14 - wyposażenie
KROK 1 - pierwsza ściana
Proszę rozpocząć od połączenia prostych ram b62. Pod każdą ramą należy umieścić kołek ECO 180°, aby zapewnić połączenie i stabilność. Kołki te są wykonane z Zamaku (cynk, aluminium, magnez i miedź) i dlatego są znacznie bardziej przyjazne dla środowiska niż kołki chromowane. Sworznie mocuje się do ramy za pomocą złącza M8. Następnie błyskawicznie łączą Państwo ramy za pomocą złącza Fast Clamp.
Ramy tworzą teraz prostą ścianę tylną. Umieszczamy również dwie ramy b62 pod kątem 90° względem siebie. Wskazówka: dzięki szybkiemu zbudowaniu kąta 90° Państwa konstrukcja jest natychmiast stabilna.
Dzięki matrycy 62 nie ma widocznego połączenia między ramami. To odróżnia nasz system od innych dostępnych na rynku. Pasuje jak ulał! Ponadto doskonała matryca 62 gwarantuje, że wszystkie Państwa konstrukcje będą stabilne, a tym samym niezawodne.
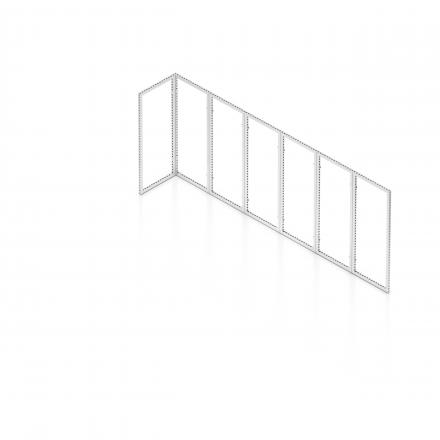
Czego Państwo potrzebują:
Rama b62 z otworami D30 ECO
4 sworznie 180° D30 ECO
Beznarzędziowy sworzeń M8
Złącze Fast Clamp
KROK 2 - drzwi
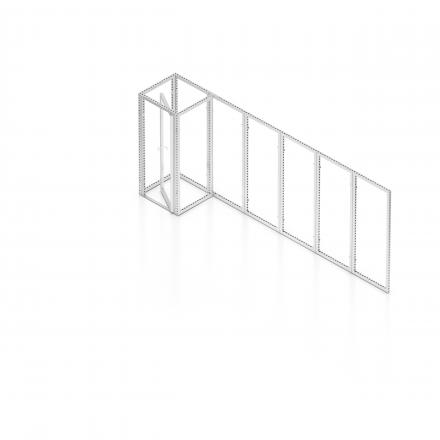
Nawet najmniejsze stoisko targowe nie może obejść się bez miejsca do przechowywania. Wystarczy pomyśleć o cennych przedmiotach, którym chcą Państwo zapewnić miejsce, małej szatni dla wystawcy lub miejscu do przechowywania żywności i napojów. W kroku 2 dodają Państwo pojedyncze drzwi obrotowe do tylnej ściany. Drzwi mają szerokość 992 mm i prześwit 741 mm. Czy wiedzą Państwo, że dzięki jednemu rodzajowi drzwi uzyskują Państwo natychmiast 4 kierunki obrotu. Wewnętrzny lewy i prawy oraz zewnętrzny lewy i prawy.
Proszę dowiedzieć się więcej o drzwiach De deuren in 62 seconden
KROK 3 - łuki
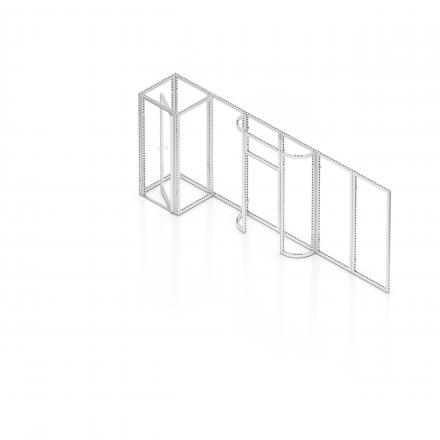
Za pomocą łuku ożywiają Państwo swój projekt. Nasza gama zakrzywionych ram ek otwiera wiele kreatywnych możliwości. Proste i zakrzywione ramy naturalnie płynnie do siebie pasują. Niezależnie od tego, jak daleko sięgają Państwa pomysły, nasza gama zakrzywionych ramek b62 z 7 promieniami pomoże zbudować to, co Państwo sobie wyobrażają.
KROK 4 - wykończenie konstrukcji
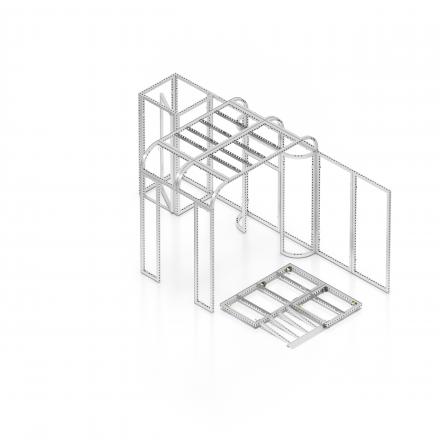
Nasz system pozwala budować sufity, podłogi i ściany przy użyciu tych samych ram. W kroku 4 dodają Państwo sufit i niewielką część podłogi. Stojak tworzy już harmonijną całość.
Proszę użyć rampy i połączyć ją z podłogą, aby stoisko było dostępne dla każdego. Ponadto proszę zakończyć konstrukcję podłogi za pomocą wspornika wzmacniającego.
KROK 5 - ukrycie otworów
Często wystawcy chcą ukryć otwory w ramach, pokazujemy to również na tym stoisku Academy. Używamy osłon b62 w połączeniu z osłonami trzpieni (dla łuków), aby wzór otworów był niewidoczny.
Proszę przymocować Coverclip do otworów i zatrzasnąć na nim osłonę. Guma na klipsie Coverclip zapobiega przesuwaniu się osłony.
Osłony trzpienia są niezbędne w przypadku konstrukcji 360°. Wykańczają one Państwa stojak i zapewniają, że tworzy on solidną całość. Proszę je zamontować za pomocą kołków M8.
Szukają Państwo tańszej alternatywy? De covers in 62 seconden

Czego Państwo potrzebują:
Osłona b62 szara
Osłona b62 klips
Stalowe osłony b62
Beznarzędziowe złącze pinowe M8
KROK 6 - lightboxy
Kolejnym krokiem są lightboxy. Są one naszym zdaniem niezbędne - nawet na mniejszych stoiskach. Sprawiają one, że Państwa stoisko jest bardziej ekscytujące, a dzięki diodom LED wizualizacje są znacznie bardziej wyraziste.
W ofercie beMatrix znajdą Państwo zarówno kasetony jednostronne, jak i dwustronne. Tutaj używamy kasetonu 62s sideLED. Dzięki szerokości 62 mm idealnie pasuje do ramek b62. Idealny element w Państwa ofercie!
KROK 7 - narożniki
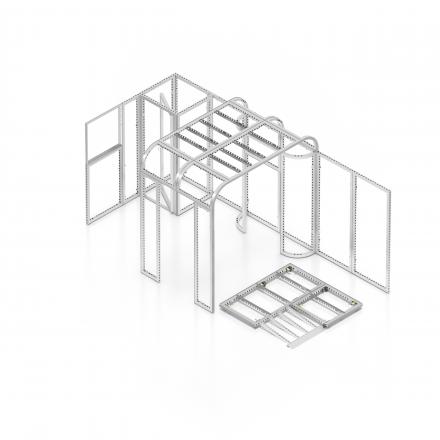
Dzięki systemowi ramowemu można nie tylko budować proste lub zakrzywione konstrukcje, ale także tworzyć narożniki 90° (lub dowolny inny stopień kąta za pomocą regulowanego Perfect Corner).
W trybie Academy dodajemy tutaj Perfect U z dwoma kątami 90°. Perfect U to gotowa spawana rama, która w połączeniu z ramami b62 otwiera przed Państwem wiele drzwi. Narożnik Perfect składa się z łącznika zamka i profilu nośnego. Umożliwia to dodanie trzech oddzielnych prostych paneli. Dzięki temu nie muszą Państwo wykonywać rowka V w panelach lub tkaninie, co zmniejsza ryzyko uszkodzenia.
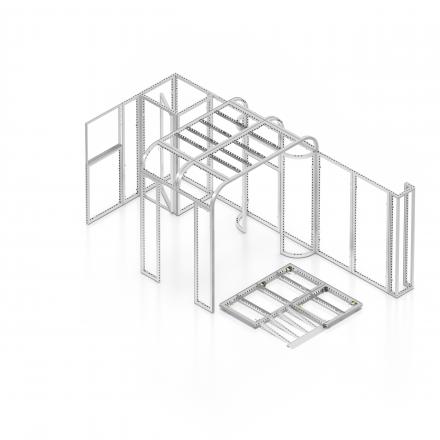
KROK 8 - podnóżki
W kroku 8 dodajemy samodzielną ramkę. Idealne rozwiązanie, jeśli chcą Państwo dodatkowo podkreślić konkretną wiadomość. Oczywiście ważne jest, aby pozostała stabilna. Na to również mamy produkty!
Ciężkie, stalowe płyty podstawy są używane do nadania konstrukcji dodatkowej stabilności lub jako cokół dla wolnostojących ram. Płyty podstawy są dostępne w różnych kształtach i rozmiarach. Czy wiedzieli Państwo, że rogi płyt podstawy są zawsze zaokrąglone, aby zapobiec skaleczeniu się przez odwiedzających?
W prezentowanym stojaku mają Państwo do dyspozycji podstawę, która jest widoczna z dwóch stron ramy.
Chcielibyśmy jednak poinformować Państwa, że w naszym asortymencie posiadamy również półpodstawki; są one widoczne tylko z jednej strony ramy.
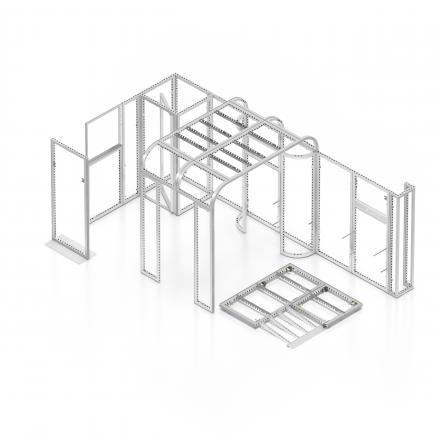
KROK 9 - wsporniki ławki (dla półek)
Dzięki wspornikom ławki beMatrix mogą Państwo zintegrować półki ze swoim stojakiem (lub schowkiem). W tym projekcie wykorzystujemy wsporniki ławki, aby umieścić na nich drewniane półki. Zgrabny sposób na wyeksponowanie produktów.
Wskazówka: wsporniki ławki mogą być również wykorzystane do podparcia blatu recepcji, na przykład.

KROK 10 - uchwyt do płaskiego ekranu
Telewizory są dziś obowiązkowym elementem każdego nowoczesnego stoiska. Dlatego w tym stojaku pokazujemy również, jak zintegrować je podczas budowania z beMatrix.
Za pomocą uchwytu do płaskich ekranów ze stali ocynkowanej można zintegrować ekrany na dwa sposoby: wbudowany (a zatem zlicowany z systemem ramy) lub zabudowany. W drugim przypadku ekran wychodzi przed panel.
Chcą Państwo zintegrować telewizor bez użycia uchwytu? W takim razie polecamy Państwu beTV. beTV to 75-calowy telewizor zamontowany w aluminiowej ramie o wymiarach 992x1984 mm. Mogą Państwo zamontować to urządzenie z łatwością i bez uchwytu.
W tym stojaku montujemy uchwyt płaskiego ekranu na ramie.

Czego Państwo potrzebują:
Wspornik płaskiego ekranu (wraz z niezbędnymi złączami)
Lub proszę zobaczyć beTV
KROK 11 - Ekran pudełka
Chcą Państwo, aby Państwa stoisko wyróżniało się również z daleka. Klasycznym rozwiązaniem z naszej oferty jest Boxscreen, który zapewni to Państwu. Boxscreeny to solidne konstrukcje wiszące. Zarówno same ekrany Boxscreens, jak i tkaniny tekstylne są łatwe w montażu. Mogą Państwo liczyć na bezproblemowe wykończenie! Ekrany Boxscreens są dostępne w różnych rozmiarach.
Jeśli chodzi o montaż, Boxscreen jest również ustawiony w 1-2-3. Elementy narożne są już zmontowane. Wystarczy dodać proste elementy i krok 11 jest gotowy!
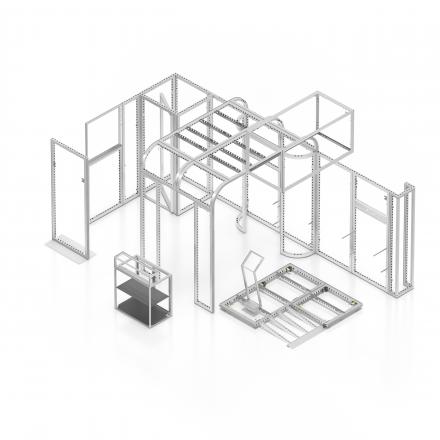
KROK 12 - meble
Stoisko jest już prawie gotowe, więc proszę przygotować się na wykończenie. Oprócz wszechstronnego systemu ram, który daje niezliczone możliwości, mamy również gamę iZi: modułowe meble, takie jak bary i stoły do Państwa stoiska.
W tym stoisku używamy jednego baru iZi. Ta wszechstronna lada jest często używana jako recepcja, ale także jako bar lub szafka. Barek iZi posiada dwie półki, zamykane drzwi i regulowane nóżki. Oczywiście można go w pełni dostosować za pomocą paneli lub tekstyliów. Dodaliśmy elewację iZi-bar, aby uzyskać wysokiej klasy wygląd.
Standardowe wymiary tego mebla to 992 X 620 X 992 mm. Dostępne we wszystkich kolorach RAL (standardowo w RAL 9006 TEC).

KROK 13 - oświetlenie
Czas umieścić światło reflektorów na stoisku! Mamy szeroką gamę oświetlenia; coś dla każdego: oświetlenie akcentujące, nastrojowe lub ogólne. W tym projekcie zdecydowaliśmy się na SAM Light.
Ta obrotowa lampa LED wyróżnia się eleganckim i stylowym wzornictwem, różnymi opcjami montażu powierzchniowego i wykorzystaniem technologii LED. Do jednego zasilacza (160 W) można podłączyć do 6 lamp SAM Light. Zintegrowane lampy LED można skierować pod kątem 340°, co pozwala oświetlić dowolną powierzchnię pod dowolnym kątem, nawet w górę! Zmień atmosferę na swoim stoisku, przełączając między zimnym i ciepłym światłem.
Proszę dowiedzieć się więcej o oświetleniu Bekijk de video over SAM Light
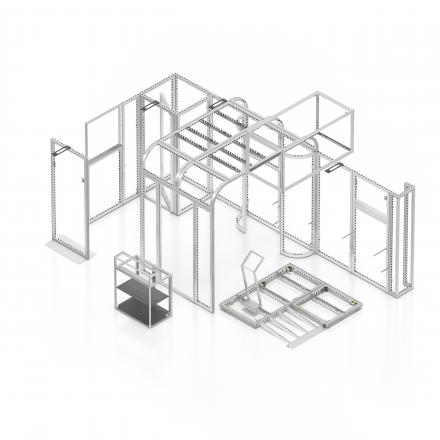
KROK 14 - wypełnienia
„Zachowaj ciało, zmień skórę”, słyszeli Państwo już wcześniej. Ramy są nieskończenie wielokrotnego użytku, a wypełnienia mogą się zmieniać za każdym razem.
Panele
Panele z PVC, płyty warstwowe, drewno, szkło (akrylowe)...? Proszę bardzo! Panele można łatwo przymocować do ram za pomocą rzepów, z haczykiem umieszczonym na ramie i pętelką na panelu. Nasze rzepy są wykonane tak, aby Państwa panel zawsze pozostawał bezpiecznie w ramie - bez względu na wszystko!
Tekstylia
Mogą Państwo również użyć tekstyliów jako wypełnienia. Silikonowe ścięgna tkanin tekstylnych są naciągane na jedną lub więcej ram.
Proszę skorzystać z narzędzi T-REX i Platypus , aby wykonać pracę za Państwa.
T-REX to narzędzie tnące przeznaczone do wycinania części paska silikonu, dzięki czemu można lepiej dopasować tekstylia do wielu ram. Produkt ten, bezpieczniejszy i bardziej precyzyjny niż nóż, z łatwością przecina silikon.
Platypus ma dziób i ogon jak dziobak. Dziób został zaprojektowany tak, aby pomóc w łatwym usuwaniu paneli z ram, jednocześnie minimalizując ryzyko uszkodzenia wypełnień. Ogon może pomóc we wkładaniu bardzo ciasnych tekstyliów do szczelin SEG.
Proszę obejrzeć film o Platypus
Aby uzyskać wysokiej jakości nadruk na panelach lub tekstyliach, prosimy skorzystać z usług bePartners.
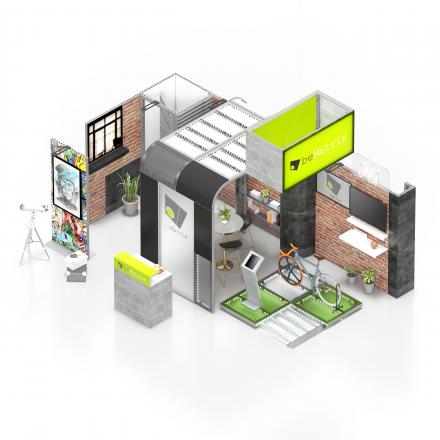
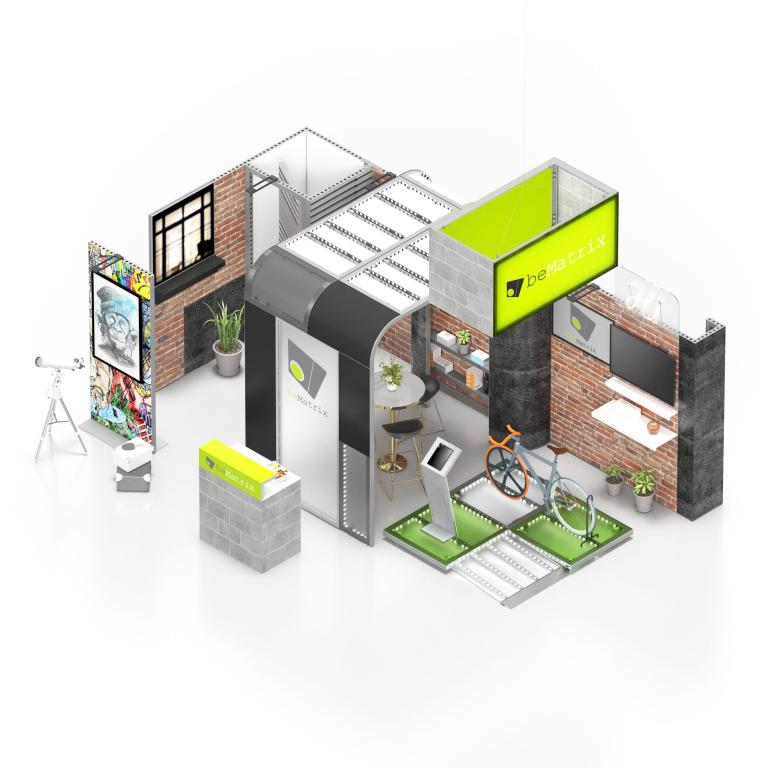
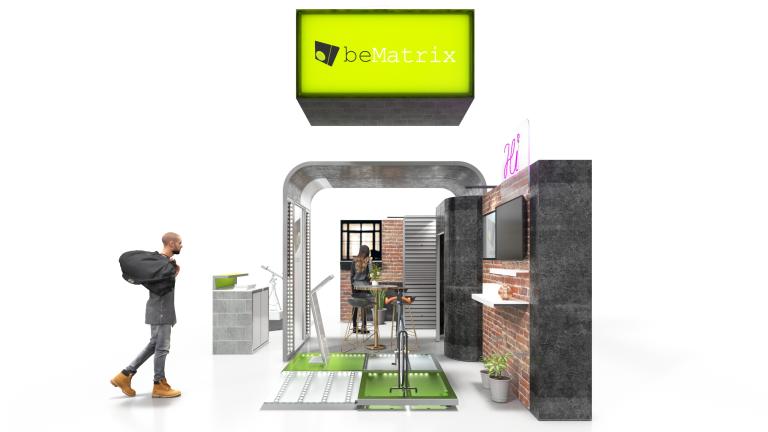
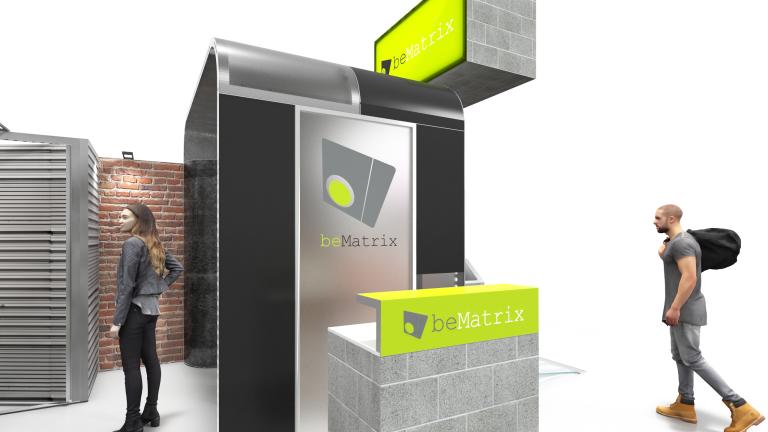
Stojak jest gotowy!
Wniosek? Rzymu nie zbudowano w jeden dzień, ale Państwa stoisko tak! ? W rzeczywistości, w ciągu godziny zbudowali go Państwo bez użycia jakichkolwiek narzędzi.
Proszę otworzyć „korpus” stojaka w beCAD
Chcą Państwo narysować coś samodzielnie, ale nie mają jeszcze konta beCAD? Proszę poprosić o konto beCADi zacząć od razu..
Rozpoczęcie
Chcą Państwo zacząć samodzielnie? Proszę zacząć od naszych pakietów Kick-off. Z pakietem Kick-off są Państwo zawsze na właściwej drodze. Wszystkie pakiety zostały stworzone w oparciu o naszą wiedzę, dzięki czemu mogą Państwo zbudować wiele różnych konfiguracji z niewielkim zapasem. Otrzymają Państwo pakiet Kickoff z ramami b62, wszystkimi niezbędnymi łącznikami i wszelkiego rodzaju akcesoriami do ukończenia stoiska. Każdy pakiet zawiera również rysunek techniczny i plan panelu (w formacie .PDF i .DXF).
Broszura dotycząca systemu
Wszystkie kroki opisane w tym wpisie na blogu mogą Państwo szczegółowo przeczytać w naszej ogólnej broszurze System.

